 2011-11-12_11-06-01_880.jpg
 2011-11-12_11-05-18_433.jpg
2011-11-12_11-06-01_880.jpg
 100_0367.JPG
 100_0370.JPG
 100_0371.JPG
 100_0372.JPG
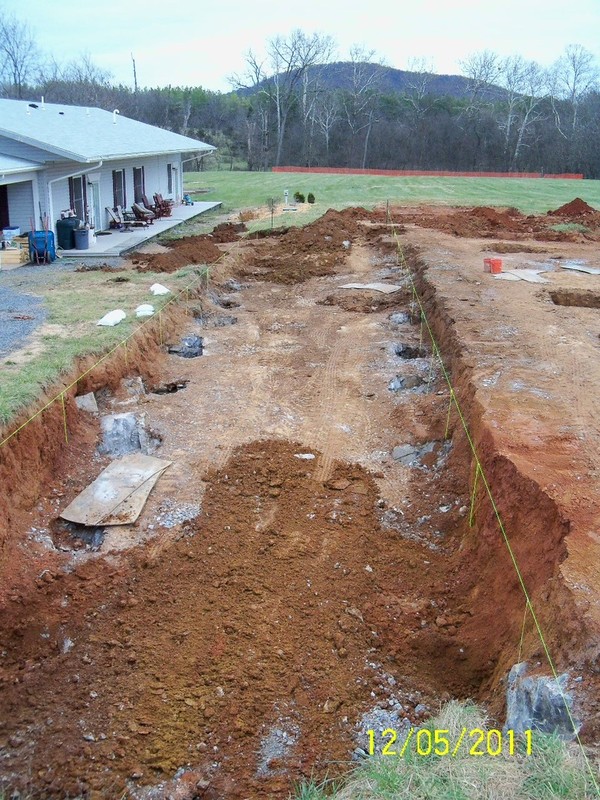
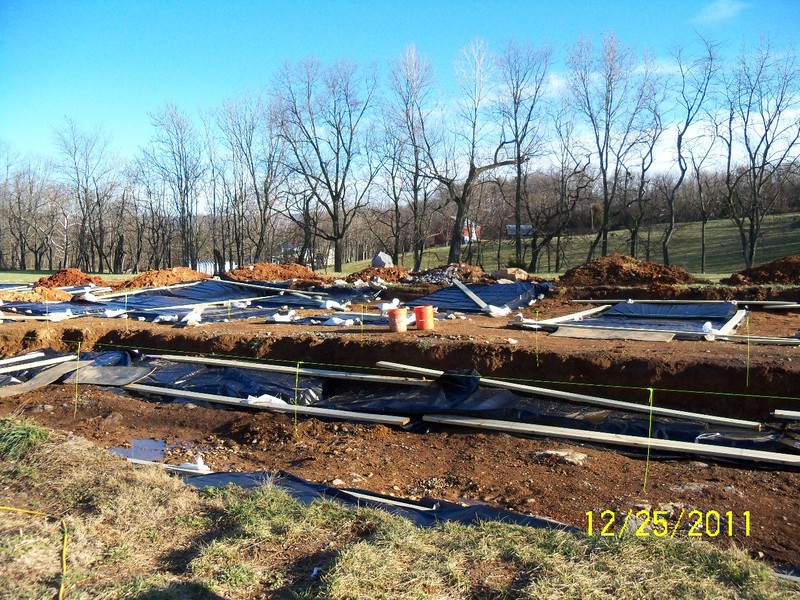
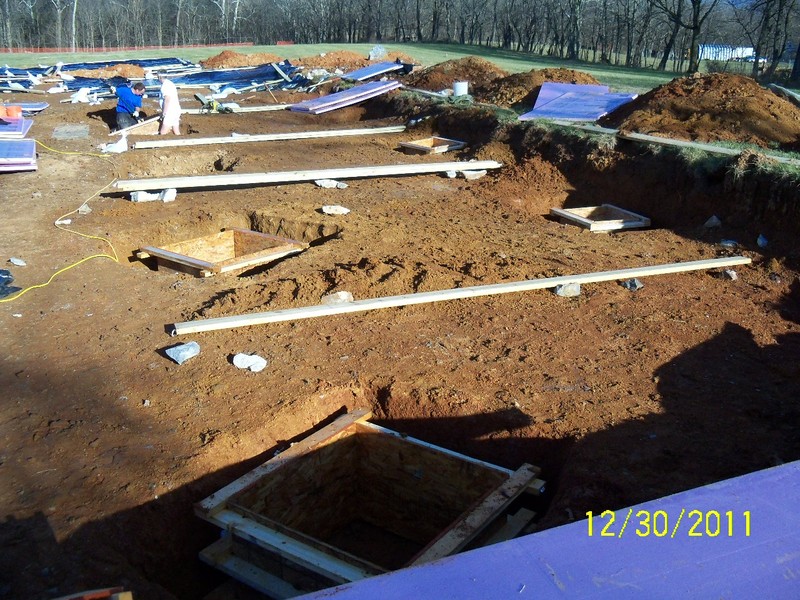
Here is a shot showing the insulation we had to use to keep the holes from freezing. While overall it was a warm winter, there were plenty of cold periods and we got into the teens several times.
 100_0373.JPG
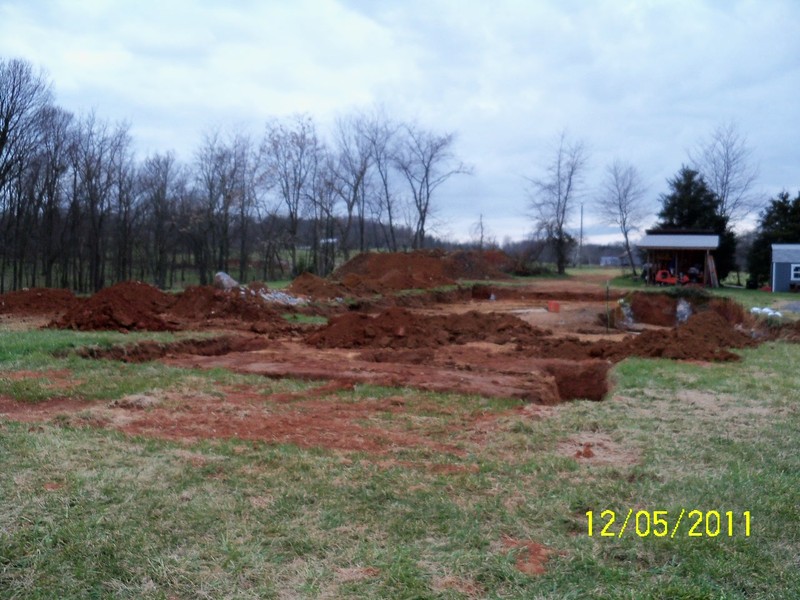
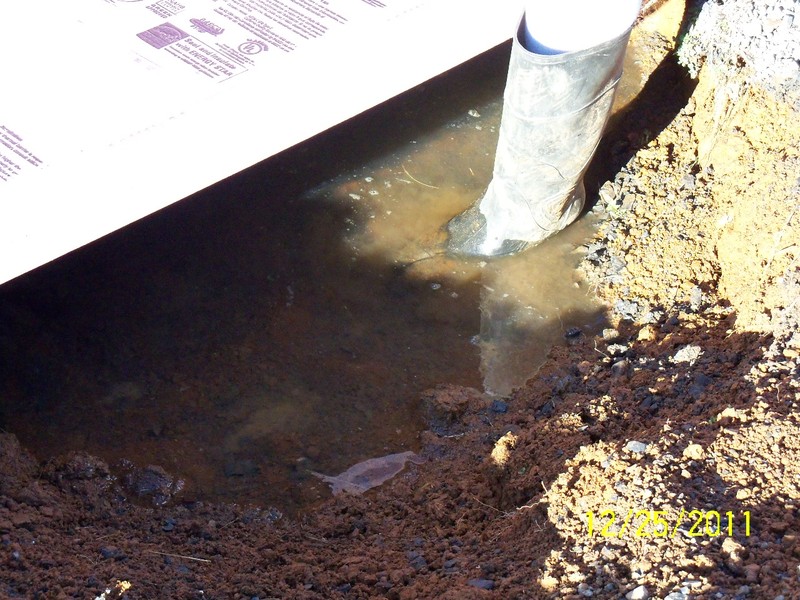
We had lots of water issues! Even though I put in a sump pump at the deep end of the pool, that didn't help the footer holes.
 100_0374.JPG
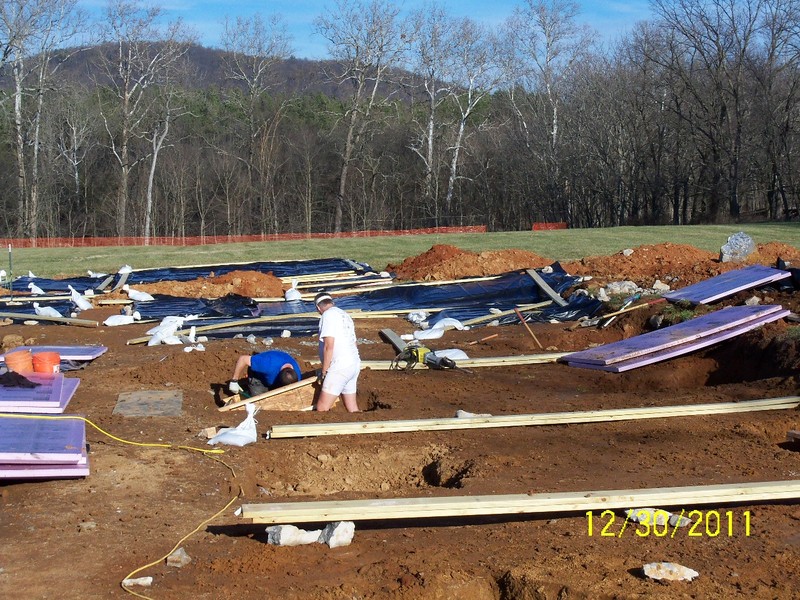
Don is helping me move a form to test fit it in the excavation.
 2011-11-13_11-33-29_563.jpg
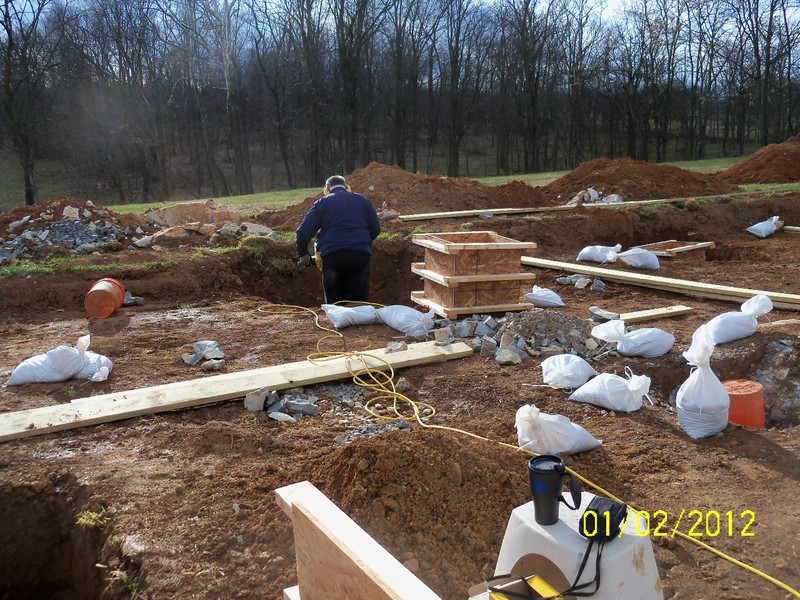
We didn't want to put the forms into the holes too soon as I didn't want them to start deteriorating. For the most part they went in fairly painlessly, though getting them out turned out to be another thing entirely. The next project we will just use the dirt as the form. Wade is so skilled at excavating that he can probably make the holes perfect anyway.
 100_0376.JPG
 100_0377.JPG
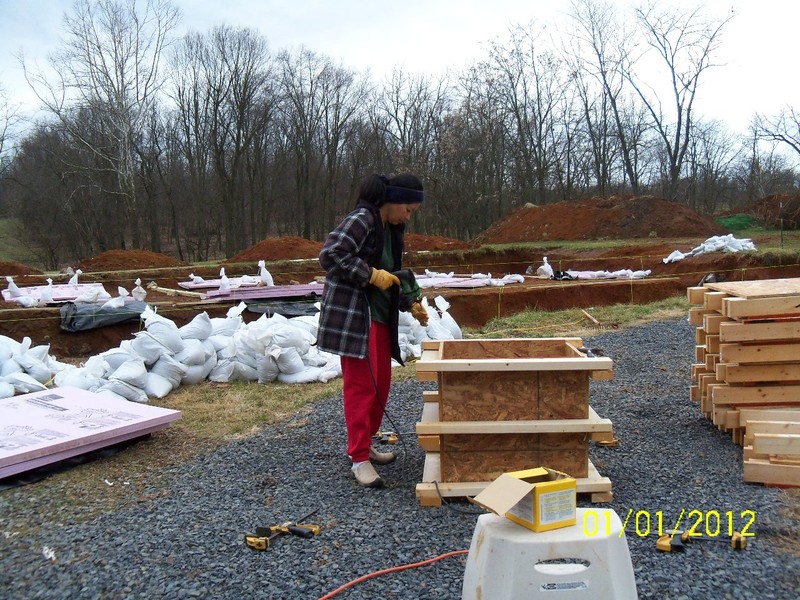
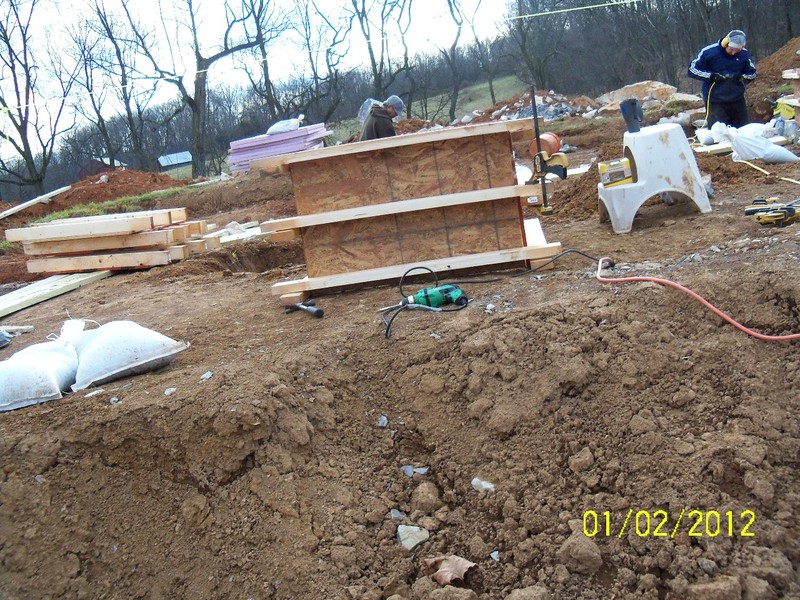
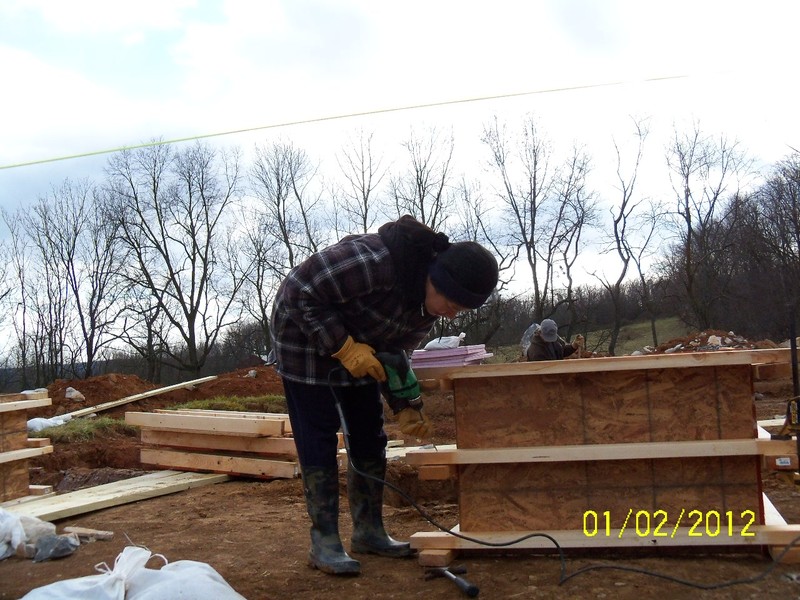
My original plan for holding the forms together was to drill holes and put a 1/2 inch rebar through them, but several people though that deck screws would be fine. I decided to put in two and they worked fine. Getting them out, though, was another thing as I hadn't figured on getting the appropriate angle while still in the hole. In nearly all cases we wound up cutting one side off to get them out. Initially we thought to save the forms, but ultimatley decided to torch them as even outside the hole most were impossible to take apart.
 100_0379.JPG
 100_0380.JPG
 100_0388.JPG
 100_0389.JPG
 100_0390.JPG
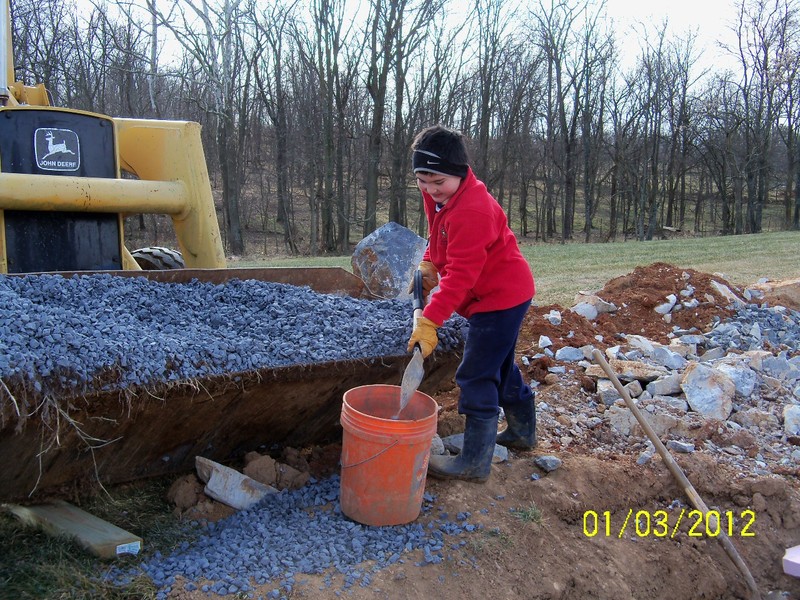
More proof that Don did occasionally help out...
 100_0392.JPG
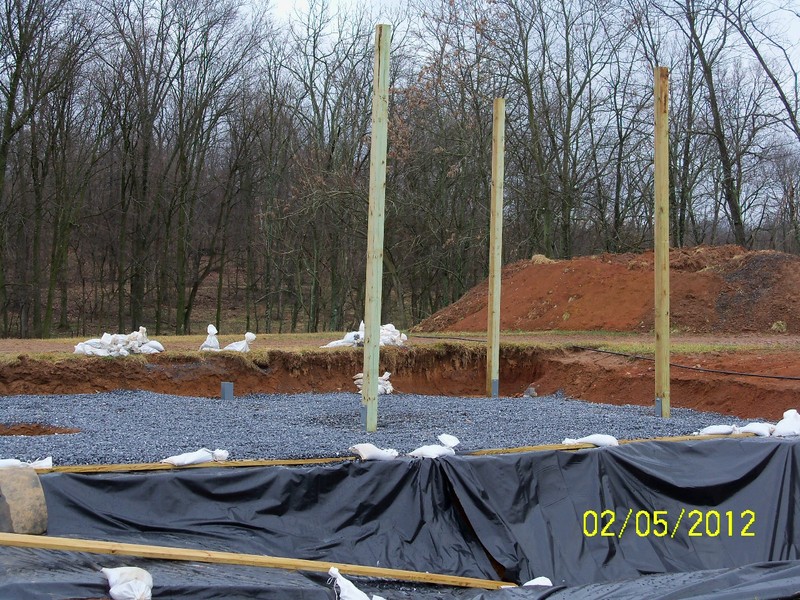
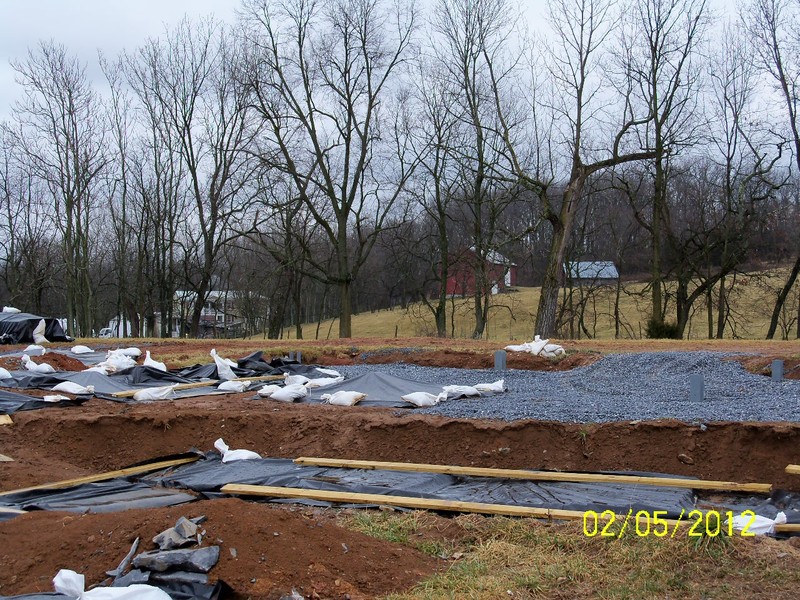
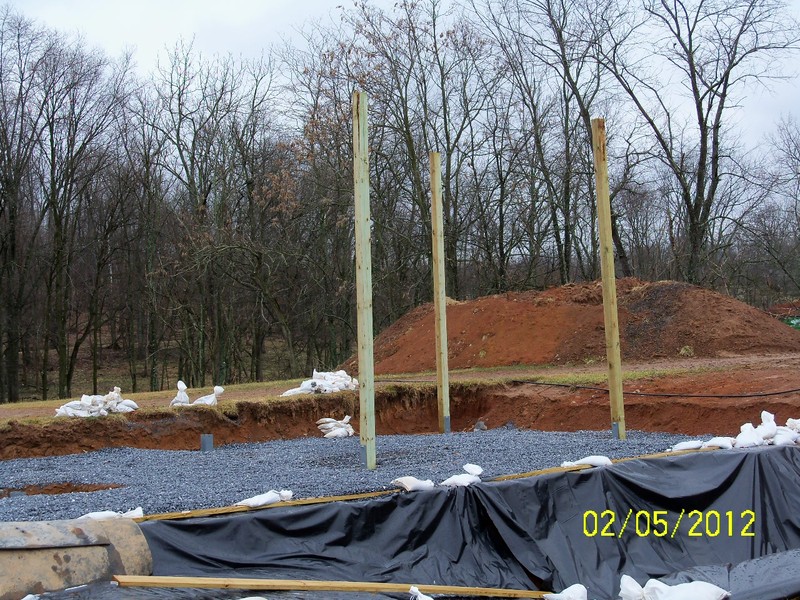
With the footers poured and forms removed we had to backfill to keep the bottoms of the holes from freezing. The side benefit was now we didn't have to walk on the dirt/mud any longer. Here are the first couple of posts we got put up. As mentioned in the pavilion page, they were mostly straightforward to install.
 100_0417.JPG
 100_0418.JPG
 100_0419.JPG
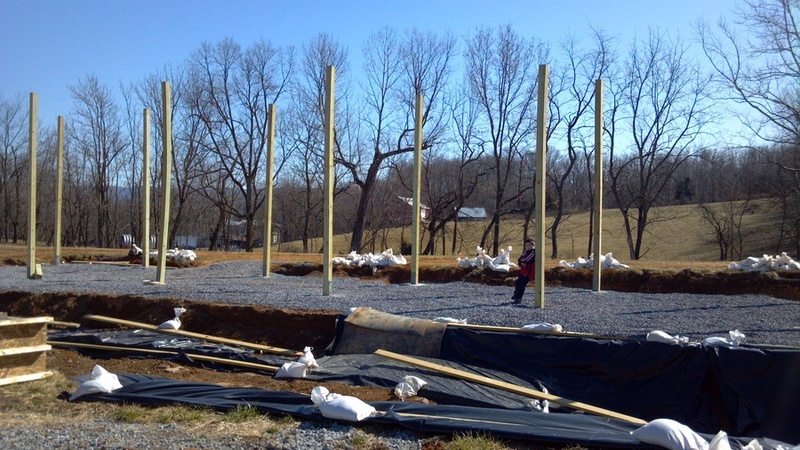
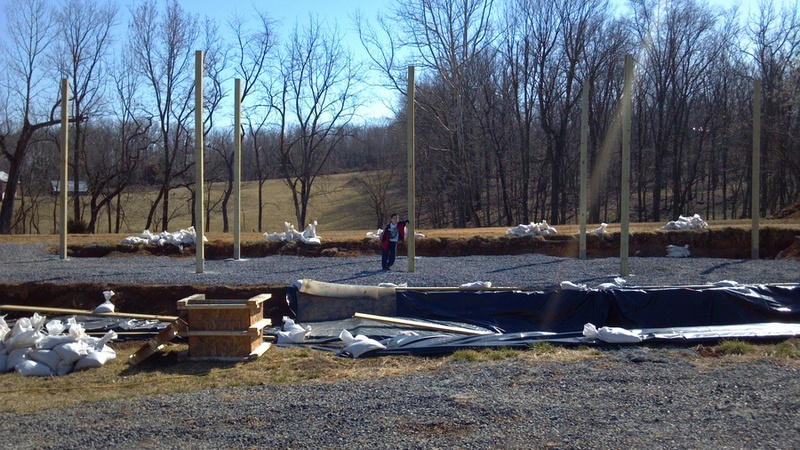
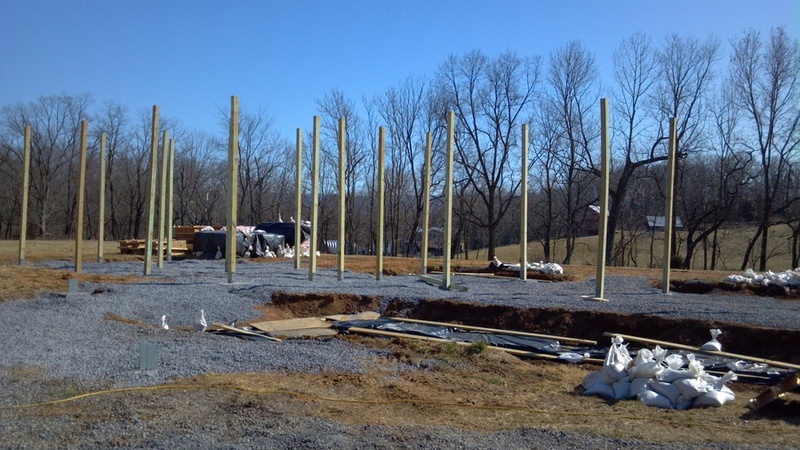
A few shots with the posts all up in the greenhouse and pavilion area.
 2012-02-20_12-11-12_575.jpg
 2012-02-20_12-10-49_793.jpg
 2012-02-20_12-10-41_324.jpg
Here is a shot of the pool footers all prepped and ready to go.
 100_0529.JPG
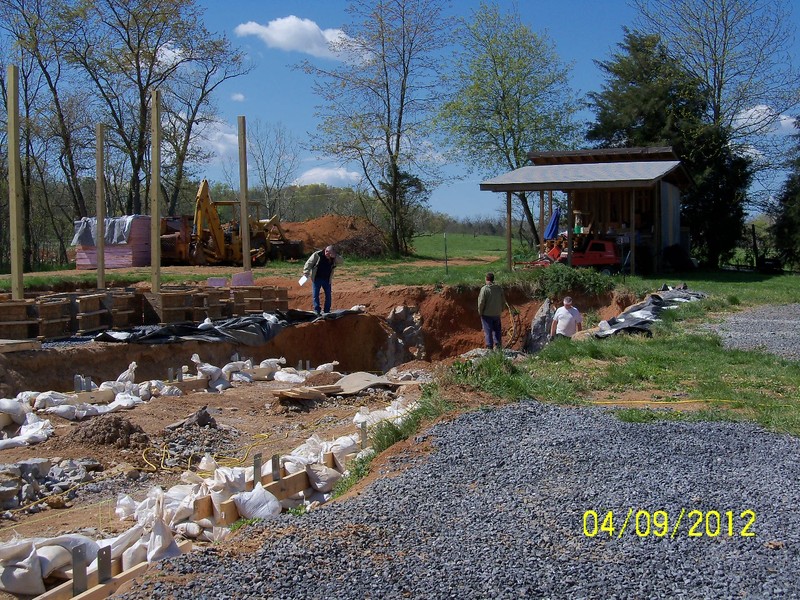
The inspector checking out our holes.
 100_0544.JPG
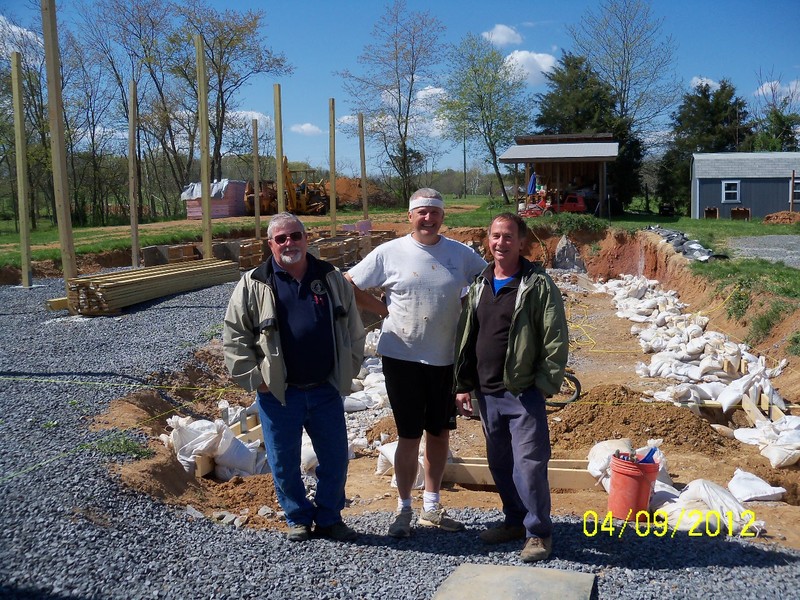
Eliz insisted on taking a picture of the inspector. He wasn't so excited about the idea, but good naturedly went along.
 100_0545.JPG
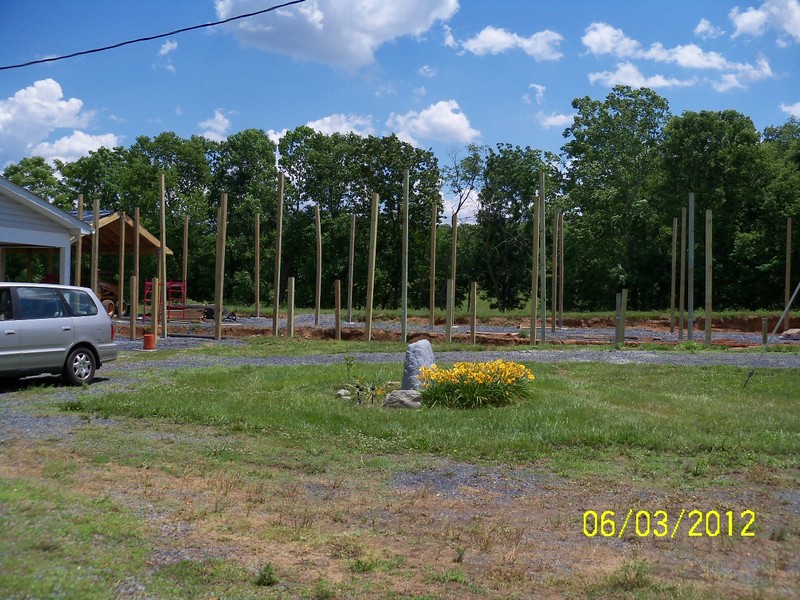
Here we have all the posts in. You can see this is late spring, the grass is nice and green and the flowers are in full bloom.
 100_0589.JPG